
Enhance Your Natural Beauty with Glossie Glow...
About Makeup
Makeup is a powerful tool for self-expression, confidence, and creativity. At Glossie Glow, we believe that makeup is more than just a way to enhance your features—it’s an art that allows you to feel your best, whether you’re going for a subtle everyday look or a bold, glamorous style.
We offer a wide range of makeup styles to suit every occasion, mood, and personality. Whether you’re a beginner just starting your makeup journey or a seasoned beauty enthusiast, Glossie Glow provides expert advice, tips, and products to help you achieve your desired look.
Why Makeup?
Makeup allows you to transform, express yourself, and highlight the beauty that is uniquely yours. It empowers you to feel confident, whether you’re stepping out for an event or just adding a touch of glow to your daily routine.
At Glossie Glow, we believe in the power of makeup to uplift your spirit, enhance your natural beauty, and create looks that reflect your personality. Our goal is to help you embrace makeup as a way to celebrate yourself, boost your self-esteem, and radiate confidence wherever you go.
Different Makeup Styles
From the everyday essentials to bold, creative transformations, there are endless possibilities when it comes to makeup. Whether you’re aiming for a natural glow, a professional look, or a dramatic statement, makeup can bring your vision to life.
- Natural Makeup: Subtle and fresh, perfect for highlighting your natural beauty.
- Glamorous Makeup: Bold and stunning, ideal for special occasions and nights out.
- Bridal Makeup: Elegant, long-lasting looks that enhance the bride’s features on her special day.
- Creative & Fantasy Makeup: For those who want to experiment with colors, textures, and dramatic effects.
Find Your Perfect Look at Glossie Glow
we believe that makeup is a personal journey, and there’s no “one size fits all” approach. Whether you’re seeking a flawless everyday look or want to master a specific technique, we’re here to guide you. With our high-quality products, tutorials, and expert advice, you can confidently experiment and discover your signature style.
Explore our collection of makeup products and start creating your perfect look today—because your beauty deserves to shine!
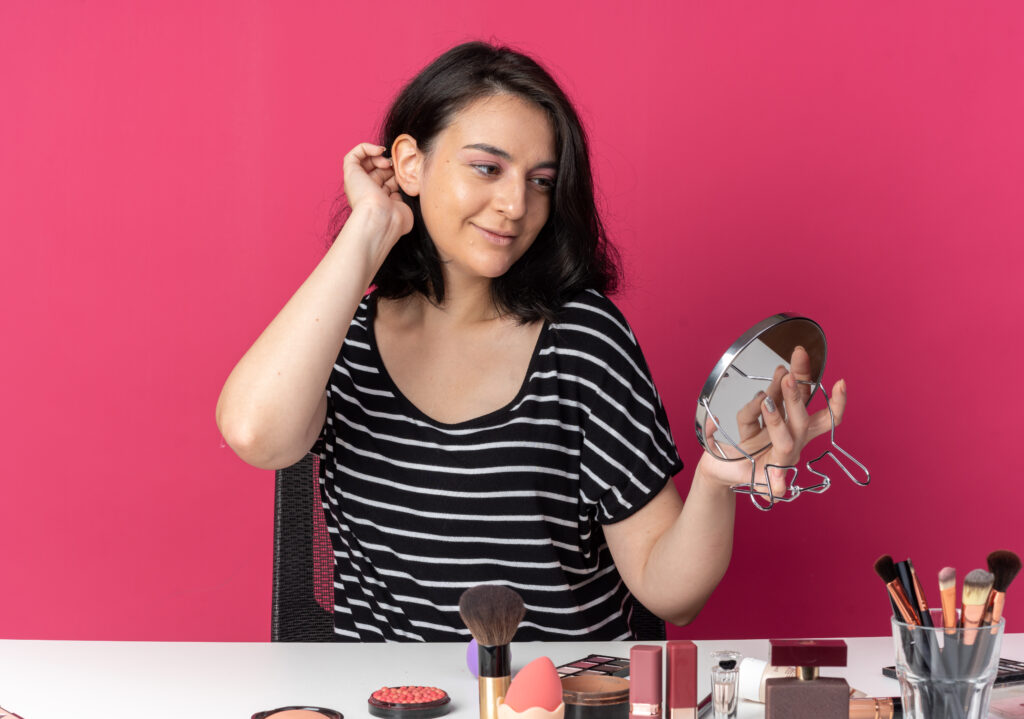
How to Do Everyday Makeup: Effortless Beauty for Every Day
Everyday makeup is all about enhancing your natural beauty with simple, easy-to-apply products that give you a fresh, polished look without taking too much time. At Glossie Glow, we believe that everyday makeup should be quick, easy, and designed to make you feel confident throughout the day. Here’s how to achieve the perfect everyday makeup look.
Step 1: Prep Your Skin
Start by cleansing and moisturizing your skin to create a smooth base. Skincare is key to ensuring your makeup looks flawless and lasts longer. Use a primer to help your makeup stay in place throughout the day.
Step 2: Apply Foundation or BB Cream
For a natural look, opt for a light coverage foundation or BB cream that evens out your skin tone without feeling heavy. Focus on areas where you need more coverage, such as blemishes or redness, and blend well into your neck for a seamless finish.
Step 3: Conceal Imperfections
Use a concealer to hide any blemishes, dark circles, or imperfections. Apply it in small amounts and blend it well with a makeup sponge or your fingertips for a flawless finish.
Step 4: Set with Powder
Lightly dust a setting powder over your face to lock in your base. This will help control shine and keep your makeup in place. Use a translucent powder for a more natural finish or a tinted powder for extra coverage.
Step 5: Add Color to Your Cheeks
Apply a subtle blush to the apples of your cheeks to add a healthy flush of color. Cream blushes can give a more natural, dewy finish, while powder blushes provide a matte look.
Step 6: Define Your Eyes
For a simple eye look, apply a neutral eyeshadow to your eyelids. You can use a soft beige or light brown shade for a subtle definition. Finish off with a coat of mascara to open up the eyes and make your lashes look fuller and longer.
Step 7: Perfect Your Brows
Fill in your brows with a pencil or brow powder to define their shape. A well-groomed brow frames your face and makes the whole look more polished.
Step 8: Keep Your Lips Soft and Hydrated
For an effortless look, go for a nude or soft pink lip color. A lip balm or tinted lip gloss works well for a natural, hydrated finish. If you prefer more color, choose a soft lipstick that complements your overall look.
Step 9: Set Your Makeup
Finish by setting your makeup with a makeup setting spray to ensure it stays fresh all day long. A quick spritz will help lock everything in place and give you a dewy, natural glow.
Why Choose Everyday Makeup?
Everyday makeup is designed to enhance your natural features while keeping things simple and quick. It’s perfect for busy mornings when you need to look polished but don’t want to spend a lot of time getting ready. With the right products and techniques, you can achieve a fresh, radiant look that will keep you feeling confident all day.
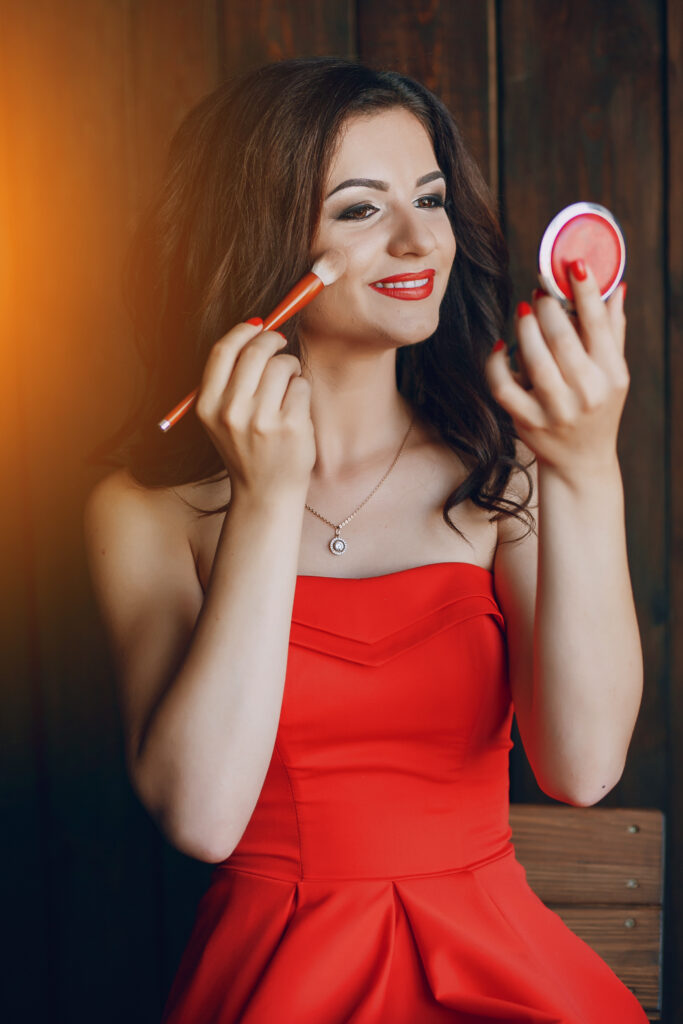
How to Do Party Makeup: Glam Up for Any Occasion
Party makeup is all about bold, glamorous looks that make you feel confident and ready to shine. Whether it’s a night out with friends, a wedding, or a special event, party makeup is the perfect way to make a statement and elevate your look. At Glossie Glow, we’ve got you covered with tips and tricks for achieving stunning party makeup that lasts all night long!
Step 1: Prep Your Skin
Start with a clean, moisturized face. Apply a hydrating primer to create a smooth base and help your makeup last longer. Choose a primer that suits your skin type, whether you need mattifying, pore-minimizing, or hydrating effects.
Step 2: Apply Full-Coverage Foundation
For party makeup, opt for a full-coverage foundation that gives you a flawless, long-lasting finish. Make sure to blend well and apply evenly across your face and neck. A foundation with a matte or satin finish works well for most occasions, giving you a smooth canvas for the rest of your makeup.
Step 3: Conceal and Highlight
Use a creamy concealer to hide dark circles, blemishes, and imperfections. Apply it to the under-eye area and any spots you want to cover. For added dimension, apply a highlighter or brightening concealer to the high points of your face, like the cheekbones, brow bones, and down the bridge of your nose.
Step 4: Set with Powder
Set your foundation and concealer with a translucent or tinted setting powder. This will help prevent shine and keep your makeup in place all night. Apply the powder lightly to your T-zone and anywhere you tend to get oily.
Step 5: Contour and Add Dimension
To add some extra definition to your face, use a contour powder or cream to sculpt your cheekbones, jawline, and forehead. Blend well for a natural, chiseled look. For an extra glow, apply a soft blush to your cheeks and finish with a shimmering highlighter to catch the light.
Step 6: Bold Eyeshadow
For party makeup, go for bold eyeshadow that makes your eyes pop. Try smoky eyes with dark, dramatic shades like deep browns, blacks, or jewel tones. Alternatively, you can opt for glittery or metallic eyeshadows for a more dazzling effect. Use a combination of matte and shimmer shades to create depth and dimension.
Step 7: Winged Eyeliner and Mascara
Create a statement with winged eyeliner. Use a liquid or gel eyeliner for precise lines that won’t smudge. Follow up with several coats of volumizing mascara to lengthen and define your lashes. For extra drama, consider adding false lashes or individual lash extensions.
Step 8: Define Your Brows
A well-defined brow can elevate your party makeup look. Fill in any sparse areas with a brow pencil or powder to shape and define your brows. Use a clear or tinted brow gel to set them in place.
Step 9: Statement Lips
Choose a bold lip color that complements your eye makeup. Red, deep berry, or nude shades are classic choices for a glamorous look. Matte lipsticks last longer, but if you prefer a glossy finish, go for a high-shine lip gloss. Don’t forget to line your lips for a more defined look.
Step 10: Set Your Makeup
Finish off your party makeup by setting everything in place with a long-lasting makeup setting spray. This will help lock your makeup in place and give your skin a dewy, refreshed look.
Why Choose Party Makeup?
Party makeup is about expressing yourself, embracing glamour, and feeling your best for any occasion. With the right techniques and products, you can create a look that will turn heads and make you feel unstoppable. Whether you’re attending a wedding, celebrating a milestone, or hitting the town for a night out, party makeup gives you that extra touch of confidence and allure.
Bridal Glow: A Step-by-Step Guide to Perfect Wedding Day Makeup...
Steps for Bridal Makeup:
Prepare the Skin
- Cleanse the face to remove dirt and oil.
- Use a hydrating moisturizer and primer for a smooth base.
Apply Foundation and Concealer
- Choose a long-lasting, high-coverage foundation that matches the bride’s skin tone.
- Use concealer to hide blemishes and under-eye circles.
Set the Base
- Apply a setting powder to prevent creasing and keep the makeup intact.
Enhance the Eyes
- Opt for neutral or glittery eyeshadow depending on the bride’s preference.
- Use eyeliner and mascara to define the eyes. Add false lashes for extra drama.
Shape the Brows
- Fill in brows with a pencil or powder for a natural, fuller look.
Contour and Highlight
- Use a bronzer for contouring and a highlighter for glowing cheekbones.
Add Color to Cheeks and Lips
- Apply blush for a rosy glow.
- Use a long-lasting lipstick or lip stain, preferably in a shade complementing the outfit.
Set the Look
- Finish with a setting spray to lock the makeup in place.

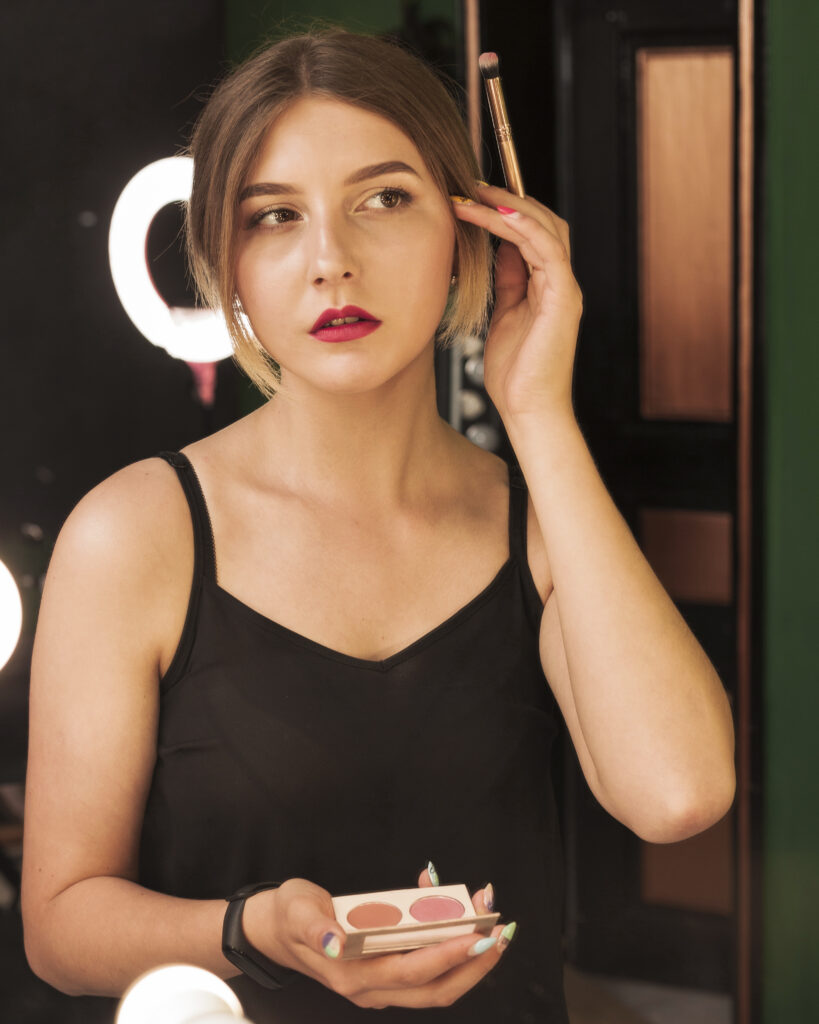
Step into the Spotlight with HD Makeup Techniques...
1. Skin Preparation
- Cleanse and Exfoliate: Start with a clean face to remove dirt and dead skin cells.
- Moisturize: Use a lightweight, hydrating moisturizer.
- Prime: Apply an HD primer to smooth skin texture and minimize pores.
2. Flawless Base
- Foundation: Use an HD foundation for a seamless, natural finish. Blend with a damp sponge or brush.
- Concealer: Cover imperfections, dark circles, and blemishes with an HD concealer.
- Setting Powder: Lightly dust HD translucent powder to set the base without a cakey effect.
3. Detailed Contouring and Highlighting
- Contour: Sculpt the face with a cream or powder contour to enhance facial structure.
- Highlight: Use an HD highlighter on high points of the face like cheekbones, nose bridge, and cupid’s bow.
4. Perfect the Eyes
- Eyeshadow: Use subtle, well-blended shades for a defined look.
- Eyeliner and Mascara: Keep lines sharp and lashes voluminous.
- Brows: Define brows with precision for a natural, polished look.
5. Cheeks and Lips
- Blush: Apply a soft, natural-looking blush.
- Lip Color: Use long-lasting HD lipsticks that complement the skin tone.
6. Finishing Touches
- Set with Spray: Seal the makeup with an HD setting spray.
- Check Under Lighting: Ensure the makeup looks seamless under natural and artificial lights.
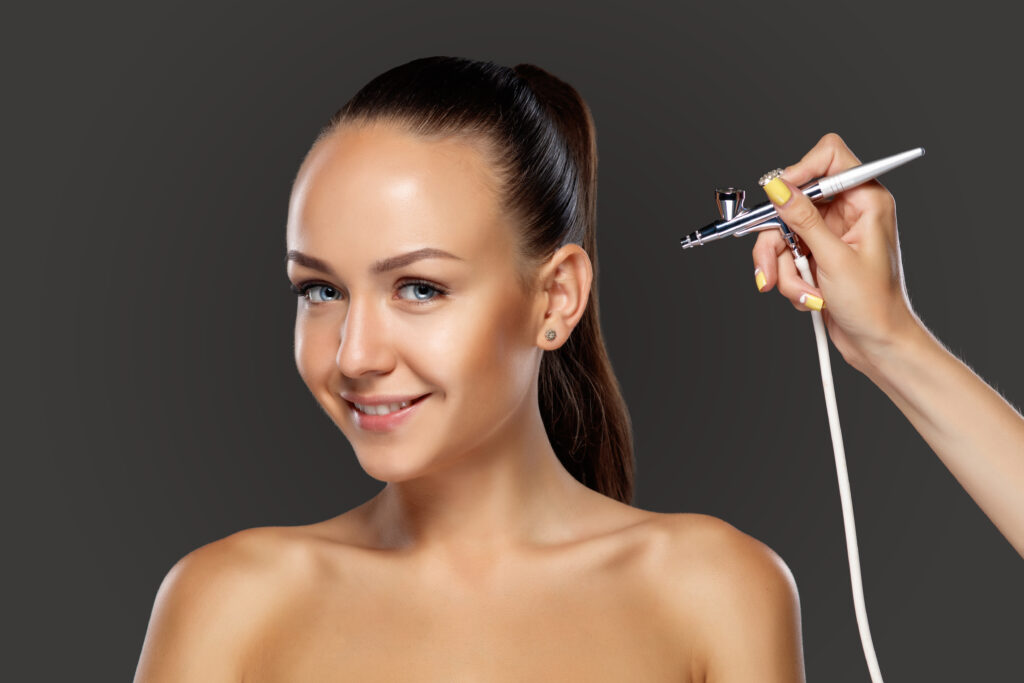
Elevate Your Glow with Airbrush Perfection...
Airbrush makeup is a professional makeup technique that uses an airbrush machine to apply makeup as a fine mist, creating a smooth and flawless finish. Here’s a step-by-step guide to doing airbrush makeup:
What You’ll Need:
- Airbrush machine and compressor
- Airbrush gun
- Airbrush makeup (foundation, blush, highlighter, etc.)
- Primer and setting spray
- Cleanser and moisturizer
- Cotton pads, tissues, and a makeup sponge for touch-ups
Step-by-Step Process:
1. Prep the Skin
- Cleanse and moisturize: Start with clean, hydrated skin. Use a gentle cleanser and a lightweight moisturizer suitable for the client’s skin type.
- Prime the skin: Apply a makeup primer to smooth out pores and ensure a long-lasting application.
2. Set Up the Airbrush Machine
- Assemble the airbrush: Attach the airbrush gun to the compressor.
- Add makeup: Pour a few drops of airbrush foundation into the airbrush gun’s reservoir. Use makeup specifically designed for airbrush systems.
- Adjust the pressure: Set the compressor to the recommended PSI (typically 6-12 PSI).
3. Start with Foundation
- Hold the airbrush gun: Keep it 6–8 inches away from the face.
- Apply in layers: Use circular motions to apply the foundation evenly across the face. Avoid spraying too much in one area to prevent buildup.
- Build coverage: Add more layers for a fuller coverage, letting each layer dry before applying the next.
4. Add Contour and Blush
- Switch makeup colors: Clean the airbrush gun and add contour or blush.
- Apply contour: Spray contour on areas like the hollows of the cheeks, sides of the nose, and jawline for a sculpted look.
- Apply blush: Lightly spray blush on the apples of the cheeks for a natural glow.
5. Highlight and Finishing Touches
- Add highlighter: Use a luminous airbrush highlighter on the cheekbones, brow bones, and the bridge of the nose for a radiant finish.
- Blend edges: If needed, use a makeup sponge to gently blend any harsh edges.
6. Set the Makeup
- Apply setting spray: Use a fine mist setting spray to lock in the makeup and enhance its longevity.
- Check the look: Ensure even application and touch up areas if needed.
Tips for Best Results:
- Practice control: Test the airbrush on a tissue or your hand to get a feel for the pressure and spray pattern.
- Use minimal product: Airbrush makeup requires less product than traditional makeup. Start with a small amount and add more as needed.
- Keep the gun moving: Avoid staying in one spot for too long to prevent uneven application.
- Clean the airbrush: Thoroughly clean the gun after each use to prevent clogs and maintain hygiene.
Unleash Your Elegance with Matte Mastery
Matte makeup is a classic beauty technique that creates a shine-free, velvety finish. It’s perfect for those seeking a polished, long-lasting look. Here’s a step-by-step guide on how to achieve flawless matte makeup:
What You’ll Need:
- Skin Prep: Cleanser, moisturizer, and primer (mattifying or pore-minimizing).
- Base: Matte foundation and concealer.
- Setting Powder: Translucent or matte-finish powder.
- Eyes: Matte eyeshadow palette and eyeliner.
- Brows: Brow pencil or powder.
- Cheeks: Matte blush and bronzer.
- Lips: Matte lipstick or lip liner.
- Setting Spray: Mattifying setting spray.
Step-by-Step Process:
1. Prep Your Skin
- Cleanse and exfoliate: Start with a clean face to ensure smooth makeup application.
- Hydrate with a lightweight moisturizer: Even oily skin needs hydration to prevent overproduction of oil.
- Apply a mattifying primer: Focus on areas prone to oiliness, such as the T-zone, to create a smooth base and minimize pores.
2. Create a Matte Base
- Use a matte foundation: Choose one that matches your skin tone and provides the desired level of coverage (sheer, medium, or full).
- Apply with a damp sponge or brush for a seamless finish.
- Conceal imperfections: Use a matte concealer to cover dark circles, blemishes, or redness. Blend well to avoid harsh lines.
3. Set Your Makeup
- Apply setting powder: Lightly dust translucent or skin-toned matte powder over your face to lock in the foundation and reduce shine.
- Use a fluffy brush for even application and a smaller brush for precise areas like under the eyes.
4. Add Definition to Your Face
- Contour and bronze: Use a matte bronzer to sculpt your cheekbones, jawline, and nose.
- Apply blush: Choose a matte blush in a natural shade and blend onto the apples of your cheeks.
5. Perfect Your Eyes
- Use matte eyeshadows: Select neutral or bold colors, depending on your look, and blend seamlessly.
- Define with eyeliner: Create a sharp line or soft smudge with a matte eyeliner.
- Groom your brows: Fill in brows with a pencil or powder for a polished look.
6. Finish with Matte Lips
- Prep lips: Exfoliate and hydrate with a lightweight balm.
- Apply lip liner: Outline and fill in your lips for long-lasting color.
- Use matte lipstick: Choose your desired shade and apply evenly for a bold, shine-free finish.
7. Lock It In
- Set with a mattifying spray: Spritz a setting spray designed for matte finishes to ensure your makeup stays flawless all day.
Pro Tips:
- Choose the right products for your skin type: Oily skin benefits most from matte makeup, but dry skin users should use hydrating primers and lightweight formulas to prevent cakiness.
- Blot as needed: Carry blotting papers to touch up any shine throughout the day.
- Avoid over-powdering: Too much powder can make your makeup look heavy or dry.
